Colours
Brush Ninja allows you to change shape colours. You can change the colours of the lines and the fills.
The process for colouring objects is slightly different to that used in apps like Photoshop, but hopefully it’s simple once you understand it.
Lines
By default lines are coloured pink. You can quickly change the colour to whatever you like by selecting a colour in the colour palette.
Lines can be coloured ‘transparent’ (see through). This is not very helpful for drawing, but can be useful if you want to draw a shape and not have any outlines. I like to draw the shape with a solid colour and then add a fill and make the lines transparent.
Fills
By default fills are transparent. To change the fill you should click on the paint bucket button above the colour palette and then select a new colour.
You can fill shapes, and lines drawn with the Pencil, Dots, and Dashes brushes. If you use a brush then the fill will automatically close the shape with a straight line between the start and end of the brush stroke.
Example: Drawing a blue rectangle
- Go to the fill colour settings (click the paint bucket)
- Select the blue colour
- Go to the shapes tool in the main menu, and select square
- Draw your square
The important thing here is to make sure you have the fill colour you want to use selected.
Example: Filling a shape
- Draw a shape
- Select the shape in Select mode
- Go to fill mode.
- If the fill colour is different to the shapes fill the colour will update
- If you want a different colour you can select it in the palette.
Colour Picker
You can paint with any colour you like in Brush Ninja.
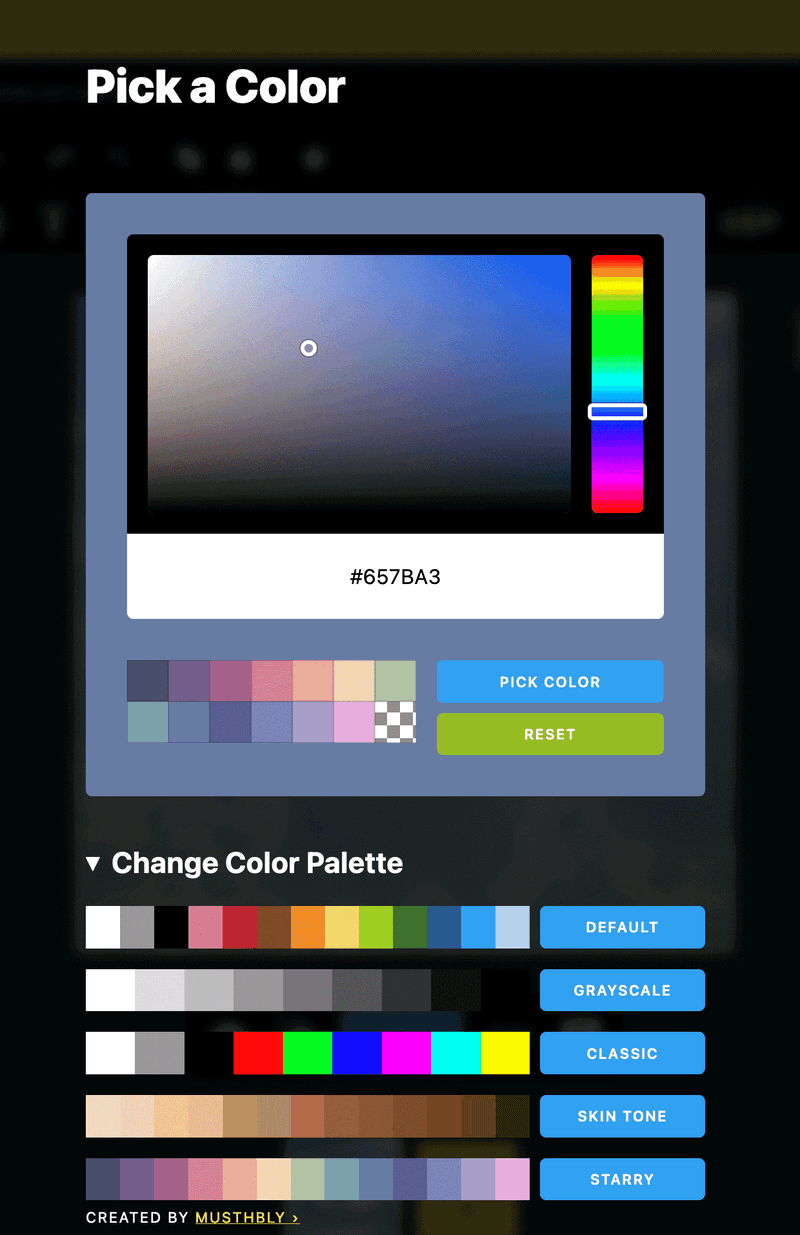
To do this click on the “paint splat” near the colour palette. A new window will open with a colour selector. Select the colour you want to use, and press Pick Color. The color will then replace the current colour in the palette.
If you edit the palette then it will be saved with the current animation so that you can easily reuse it.
You can reset the palette to the default setting at any time by clicking the splat and pressing the Reset Palette button.
Eye Dropper
If you want to select a colour from the page then you can use the eye dropper tool, which can be found underneath the colour splat in the right hand colour palette.
To use it:
- Select the tool.
- Click on the colour you want to copy.
- It will then become the actively selected colour.
Custom Colour Palettes
Brush Ninja inclues a selection of custom colour palettes. This is to give you a solid starting point for nice colour combinations - which can sometimes be hard to work out.

To use the custom palettes you should open the Colour Picker (by clicking on the splat) and then scroll down and expand the “Change Color Palette” section. Here you can either pick colours, or swap out the entire palette. The “default” palette is what has always been used on Brush Ninja, but you can use any of the other combinations.
More Help?
How to Use Brush Ninja
- Brush Ninja Interface
- How to Make a Gif - An animation primer.
- Sound Effects - Add audio effects to your animations.
- Using Your Own Images - Use your own images to create animations.
- Select Mode - Move, Scale, Rotate, Skew, Group, Duplicate, Copy and Paste.
- Stickers
- Colours - Fill and Line colours, and how to pick custom colours.
- Keyboard Shortcuts
Common Questions
How to Upload Animations
- How to Access Downloaded Animations on Android
- How to Convert an Animated Gif to a video
- How to Export your Animation - Share your animation with friends, or teachers.
- How to Open a Brushninja file - Loading a file.
- How to Save your Animation - Save your animation to be reopened later.
- How to Upload Brush Ninja Animations to Google Docs and Google Slides
- How to Upload Brush Ninja Animations to Instagram
- How to access downloaded animations on iOS
- How to Upload Brush Ninja Animations to SeeSaw
- How to Upload Brush Ninja Animations to Twitter
Problems
← How to Upload Brush Ninja Animations to TwitterCustom Backgrounds →
